There are several ways to make the illusion of miniature bricks to detail your scene. When done with care, they can bring hyper realism and authenticity to your tiny world.
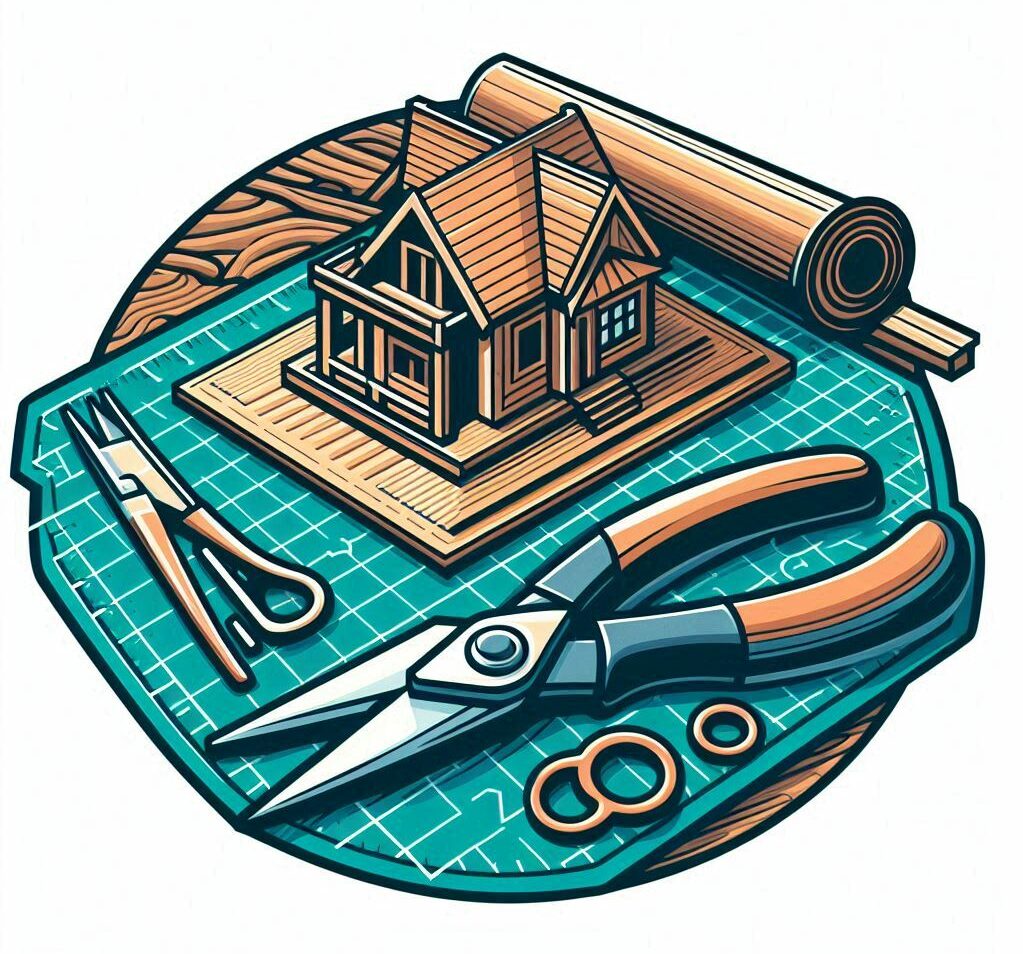
Getting those bricks just right can take your diorama from good to “did you shrink a real building?” There’s an art to it, whether you’re building a wall, a street, or a whimsical fairy tale castle. We’re gonna look at some cool ways to make those bricks using foams like EPS or XPS foam. This stuff is super handy – it’s light, easy to work with, and forgiving when you’re still figuring things out.
Knowing the methods and why you might choose each is like having the best toolbox ever. Foam bricks by hand, texturing rollers, or crafting individual bricks – each brings its own set of pros and challenges. I’ll be your guide through all these options. We’ll figure it out together, so your diorama looks like a snapshot of real life.
What you’ll find here isn’t just a recipe for bricks – it’s a guide. These tricks and tips are collected wisdom from folks who’ve developed and refined the best ways to get it done, to nail that Oh-my-gosh-did-you-do-this? level of detail.
Carving Foam Bricks by Hand
Creating foam bricks by hand is daunting but rewarding. All you need is a piece of foam, a pencil, and a lot of patience. Here’s how you can start turning foam into stunning brickwork.
Take your piece of foam and drag a pencil along with a straight edge to mark out the main lines between the single layers of bricks. Make sure your spacing is spot on for this or you’ll lose the scale illusion. Once you’ve got the lines running across, go for the cross sections. Alternate them, just like you’d see actual bricks lined up. Creative license here is totally fine.
Want to try another type of stone work? Cobblestones or mosaics are also super fun. Just draw irregular shapes, almost like awkward bubbles, to depict these cobblestones. Keep things a bit uneven. It gives that rustic, natural flair. Start at one corner of the space and work your way across.
To make these marks stand out, press the pencil down slightly into the foam. You might need to go over it a couple of times to get more depth. This way, your foam has that distinct indent, resembling mortar lines.
Rounding off some edges or adding chips and cracks gives that aged, worn-out finish that can make a diorama look charmingly old-world. These imperfections give your piece character, and authenticity.
Enhancing Brickwork Using a Texture Roller
Speed things up with a texture roller when working on diorama bricks. This method is like running a pizza cutter over dough, as it quickly covers your foam with intricate patterns that would’ve taken 5 times as long by hand. Depending on the size of the surface you’re detailing, that could be several minutes to hours of work time saved.
The variety in textures available is vast – from historical brick styles to whimsical cobblestones. Whatever vibe you’re going for, there’s a roller pattern for that.
Aligning your roller properly is crucial. Misaligned patterns can ruin the illusion of your scene, but lining things up takes just a moment and easily looks great.
Before you start rolling, consider whether your terrain is flat. Rolling over bumps isn’t ideal and can mess up your pattern. Keep the terrain flat or put down the foam first before adding elevation.
Go the Extra Mile with Individual Foam Bricks
If you’re all about that nuanced, hyper-realistic vibe, crafting each brick individually is your jam. Sure, it takes time, but the payoff in authenticity is worth every minute.
Grab a wire foam table cutter for precision cutting. This tool helps create uniform bricks, which is super satisfying when assembling your masterpiece. You want those bricks looking consistent, like a tiny pro stone mason built it.
Once you’ve got your pile of bricks, it’s time to add some texture. Toss them in a container with small stones and give it a shake. The banging around with real rocks will dent the foam up and they come out with the kind of texture that mimics real bricks.
Laying these individual bricks is very satisfying. It can take some time, but let’s be real, watching it all come together might be the most thrilling part of the process.
To stick them down, brush a line of Mod Podge, and place your stones one by one. This lets you create complex patterns and gives you room to get creative with the layout. This method also lets you curve walls in a way that just isn’t possible with a roller or starting with a flat piece of foam.
It’s crucial to consider how these bricks look in the context of your diorama. Each piece influences the scene, so lay them down thoughtfully. Trust the process—it’s the artistry that shines through.
Painting and Final Touches: Bringing Bricks to Life
After constructing your diorama bricks, the real magic happens during painting. Choose a rich palette to breathe life into your foam bricks. Aim for color variations that mimic real stone, like shades of brown, yellow, and red, or go classic with grayscale tones. The goal is to achieve a vibrant, natural look that feels real.
First prime them with a matte primer, covering all of the original color of the foam. Then using a flat brush, paint each brick with different colors for that realistic alternating color that comes with a wall made up of different colored stones. A burst of color here and there makes a big difference, making individual bricks pop and adding depth to the entire setting. But this is not a requirement. You may want to make them all the same color a just weather them. It’s your art.
To create the look of worn mortar or grout, an off-white paste helps. Mix spackle with water until it’s like a thick soup or melted ice cream, and apply generously over the brick surface. Initially, it might look messy, but wiping it gently with a damp paper towel will reveal the realistic white lines in between each brick, completing the realistic look of mortar. Try some green diluted paint and dab it around to add moss or a dark wash to show where water may tend to flow over the surface, adding an aged look.
These painting practices ensure each section of your diorama supports the story you hope to tell. It’s these final touches that transform your bricks from foam to a breathtaking part of your miniature world, ready to be marveled at for the craftsmanship involved.